Removing Acrylic Nails: Acetone vs. Non-Acetone Methods
I still remember the panic I felt the first time I wanted to remove my acrylic nails. I had no idea what to do. I tried to peel them off—big mistake. My natural nails ended up thin, painful, and looked terrible for months. That’s when I learned that removing acrylics the right way is just as important as getting them applied.
Acrylic nails are made from a mix of liquid monomer and powder polymer. They form a hard, durable layer that doesn’t dissolve in water or regular nail polish remover. To remove them safely at home, you have two main options: the acetone soak method and the non-acetone (mechanical) method. Each has its pros and cons. Let’s break them down.
Method 1: The Acetone Soak (Recommended)
Acetone is a powerful solvent that breaks down the acrylic’s chemical bonds. This is the method most professionals use because it’s effective and, when done correctly, gentle on your natural nails.
What You’ll Need
- 100% pure acetone (not nail polish remover)
- Cotton balls or pads
- Aluminum foil (cut into 10 squares)
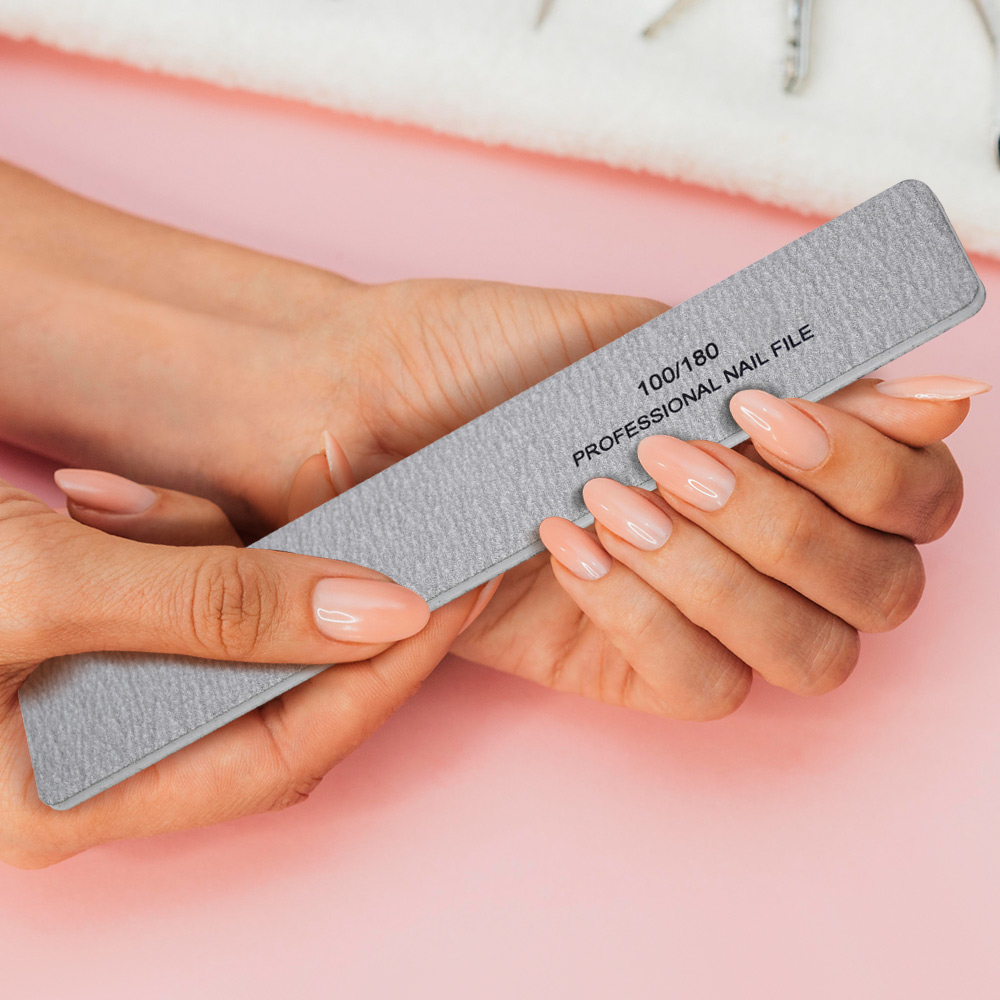
- Nail file or buffer (coarse grit, 100-180)
- Cuticle pusher or orangewood stick
- Bowl of warm water (optional)
- Cuticle oil and hand cream
Step-by-Step
1. File the top layer. Use a coarse nail file to gently buff away the shiny top coat of your acrylics. You don’t need to remove all the acrylic—just break the seal so acetone can penetrate.
2. Soak cotton. Saturate a cotton ball with pure acetone. It should be wet but not dripping.
3. Wrap with foil. Place the cotton on your nail and wrap the foil tightly around your fingertip to hold it in place. For faster results, you can dip your wrapped fingers in a bowl of warm water (the heat speeds up the reaction).
4. Wait. Set a timer for 20-30 minutes. Relax. Read a book or watch a show. Don’t peek—unwrapping too early slows the process.
5. Check and push. Unwrap one finger and gently push the softened acrylic with a wooden stick. It should slide off easily. If it’s still hard, rewrap and wait another 10 minutes.
6. Never scrape. If the acrylic doesn’t come off with light pressure, you didn’t wait long enough. Forcing it will damage your natural nail.
7. Buff residue. Lightly buff any remaining bits of acrylic or base coat.
8. Wash and hydrate. Wash your hands thoroughly with soap and water. Then apply cuticle oil and rich hand cream. Acetone is extremely drying, so moisturizing is essential.
Pros
- Very effective – removes even thick acrylics
- Safe for natural nails when done patiently
- No special tools required
Cons
- Takes time (30-45 minutes total)
- Acetone can dry out skin and nails
- Strong smell
Method 2: The Non-Acetone (Mechanical) Method
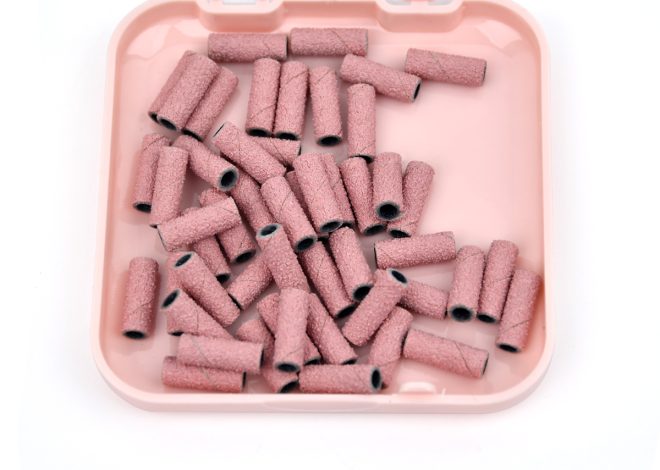
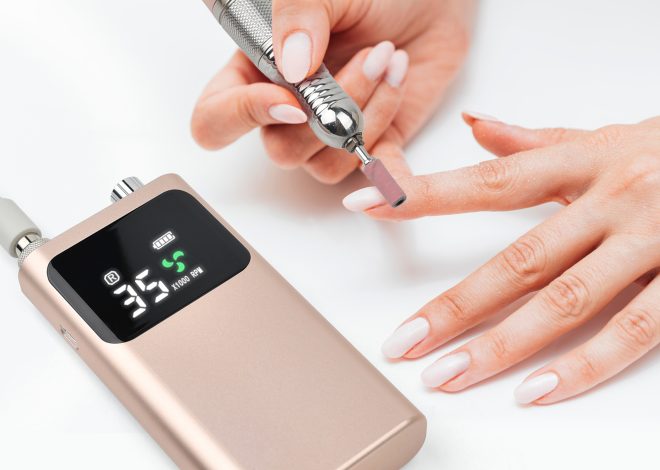
If you don’t have acetone or want to avoid harsh chemicals, you can remove acrylics by filing them off. This method uses only mechanical abrasion—no soaking. It’s often used by professionals with electric nail files, but you can do it at home with hand files.
What You’ll Need
- Coarse nail file (100-150 grit)
- Medium and fine files (180-240 grit)
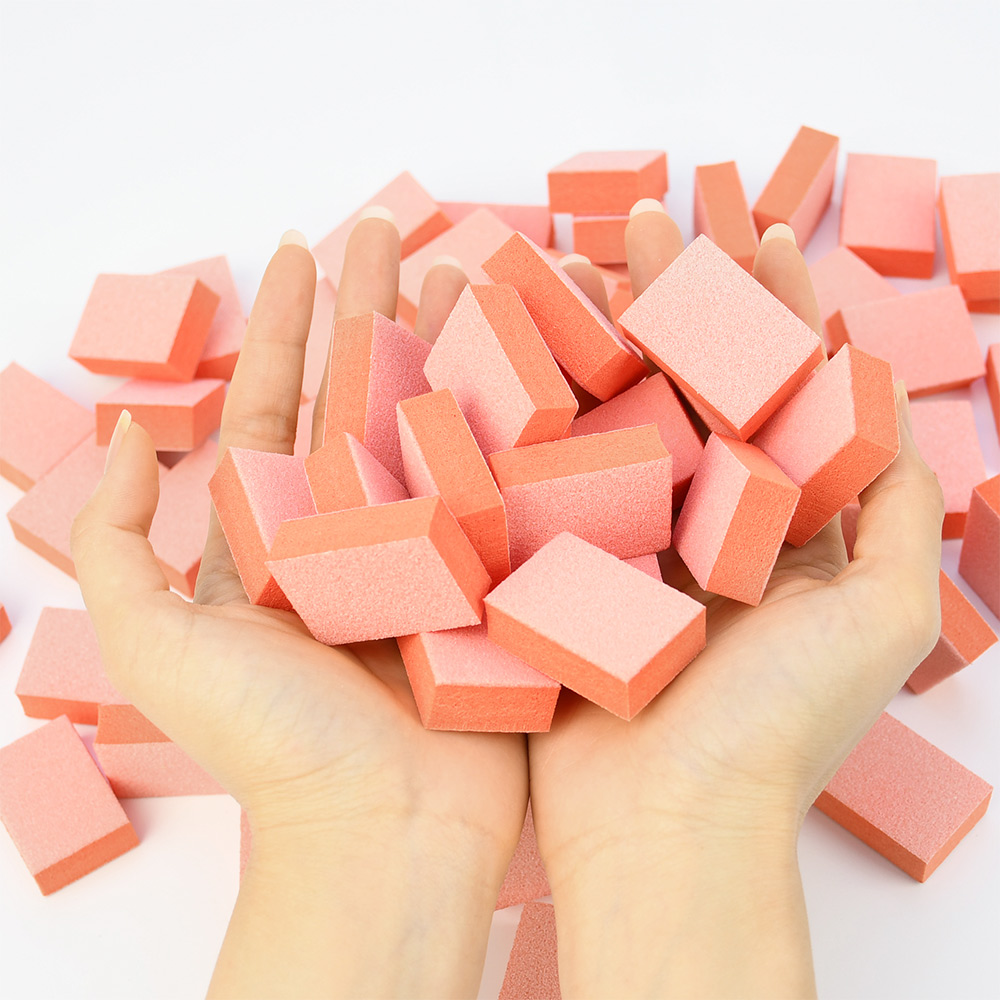
- Buffer block
- Dust brush
- Cuticle oil

Step-by-Step
1. Clip long nails. If your acrylics are long, clip them down as short as possible. This saves filing time.
2. File the surface. Use the coarse file to gently file away the acrylic layer. Work in one direction, not back and forth. Keep the file flat against the nail. Stop frequently to check your progress.
3. Watch for color change. Acrylic is usually white or pink. When you start seeing your natural nail’s color (pinkish with a white free edge), slow down. Switch to a medium or fine file.
4. Leave a thin layer. It’s okay to leave a whisper-thin layer of acrylic or base coat on your natural nail. This protects the nail plate from over-filing.
5. Buff smooth. Use a buffing block to smooth the surface and remove any remaining ridges.
6. Hydrate. Wash your hands and apply cuticle oil.
Pros
- No chemicals or smell
- No waiting – you control the pace
- Works on any type of acrylic
Cons
- Very time-consuming (can take 1-2 hours for both hands)
- Risk of over-filing and thinning your natural nails
- Dusty and messy
- Requires effort and patience
Acetone vs. Non-Acetone: Which Should You Choose?
| Acetone Soak | Non-Acetone Filing | |
| Time | 30-45 minutes | 1-2 hours |
| Effort | Low (mostly waiting) | High (constant filing) |
| Risk of nail damage | Low (if you don’t scrape) | Medium (if you over-file) |
| Mess | Foil wraps, acetone smell | Dust everywhere |
| Best for | Most people, especially beginners | Those allergic to acetone or without access |
Easy Removal Tips for Both Methods
Before You Start
- Don’t peel or pry. Never. Peeling rips off layers of your natural nail.
- Clip long nails first. Shorter acrylics are easier to remove.
- Work in a well-ventilated area. Acetone fumes are strong.
During Acetone Soak
- Warm the acetone. Place the acetone bottle in a bowl of warm water (never microwave – flammable). Warm acetone works faster.
- Use enough cotton. Saturation matters – dry cotton won’t dissolve acrylic.
- Wrap tightly. Loose foil lets acetone evaporate.
- Don’t rush. If acrylic isn’t soft after 20 minutes, rewrap and wait. Forcing it damages nails.
During Filing Method
- Use a dust mask. Acrylic dust is fine and can irritate lungs.
- File in one direction. Sawing back and forth creates heat and rough edges.
- Check often. Stop as soon as you see your natural nail.
- Take breaks. Filing for an hour straight strains your hands.
After Removal (Both Methods)
- Apply cuticle oil immediately. Your nails are dehydrated and need moisture.
- Use a nail strengthener. If your nails feel thin, apply a keratin treatment for a week.
- Give your nails a break. Wait at least 2-3 days before applying new acrylics or gel. Let your natural nails recover.
- Moisturize hands frequently. Acetone and filing both dry out skin.
What Not to Do
Don’t use regular nail polish remover. Non-acetone removers won’t dissolve acrylic.
Don’t soak for hours. Acetone can irritate skin with prolonged exposure. 30 minutes is usually enough.
Don’t use metal tools to scrape. They gouge the nail plate. Stick to wood or silicone pushers.
Don’t file down to bare nail aggressively. Leave a thin layer of product to protect your natural nail.
Frequently Asked Questions
Can I remove acrylics with just a file?
Yes, but it takes a long time and requires patience. Use a coarse file and work slowly.
How often should I remove acrylics?
Every 3-4 weeks. Don’t leave them on longer than that—they can lift and trap moisture, leading to fungus.
My natural nails feel thin after removal. Is that normal?
Yes, especially if you’ve worn acrylics for months. Apply cuticle oil and a strengthener daily. They’ll recover in a few weeks.
Can I reuse my acrylic nails after removal?
No. Acrylics are meant for one-time use. Filing or soaking destroys them.
The Bottom Line
Removing acrylic nails doesn’t have to be scary or damaging. The acetone soak method is safe, effective, and beginner-friendly. The non-acetone filing method works but takes more effort. Whichever you choose, remember: patience is your best tool. Never peel, never scrape, and always moisturize afterward.
Your natural nails will thank you.
Read also: The Art of Choosing the Right Nail Drill Bits: A Simple Guide