The Art of Choosing the Right Nail Drill Bits: A Simple Guide
That high-speed whirr of an electric nail drill can be intimidating. Yet, in the hands of a skilled technician—or a knowledgeable DIY enthusiast—it’s the secret to flawless, long-lasting nail enhancements. While the drill machine itself gets much attention, the true heroes are the nail drill bits. Choosing the right one isn’t just about the final look; it’s about the health of your natural nails, the efficiency of your service, and the overall safety of the procedure. A poorly chosen or low-quality bit can cause excessive heat, painful friction, nail plate damage, and lifting of enhancements. In short, your drill bit is your primary tool for precision. Let’s demystify the main types and their perfect uses.
A Guide to Drill Bit Types & Their Uses
Drill bits are categorized by their shape and, most importantly, their abrasive material or surface. Each type has a specialized role.
1. Ceramic Bits: Known for their gentle touch, ceramic bits are cool-running. They generate less heat than metal bits, making them a safer choice for beginners and for work close to the skin and natural nail. They are excellent for refining the shape of acrylic or gel nails, smoothing edges, and gently removing gel polish from the natural nail plate without aggressive filing.
2. Diamond Bits: These bits have a metal core coated with diamond particles. They are the versatile all-rounders of the nail world. Available in coarse, medium, and fine grits, they can handle everything from cuticle cleaning and refining (with a fine, tapered bit) to removing product from the nail surface. A fine-grit diamond bit is ideal for prepping the natural nail before applying enhancements, as it creates a perfect, etch-free surface for adhesion.
3. Tungsten Carbide Bits: Recognizable by their sharp, fluted (spiraled) cutting edges, these are the power players. They are designed for fast, aggressive removal of bulk material. Use them for taking down thick acrylics, hard gels, or acrylic overlays quickly. However, they are not for use on the natural nail plate due to their cutting power, which can cause severe damage in seconds. They are a professional favorite for efficiency.

4. Polygon Bits: Often called “poly” bits, these feature a faceted, geometric surface. They are a fantastic hybrid. They remove product almost as quickly as carbide bits but leave a much smoother surface, reducing the need for additional filing. They are excellent for removing hard gel, structured gel, or polygel and are generally safer and cooler-running than carbide.
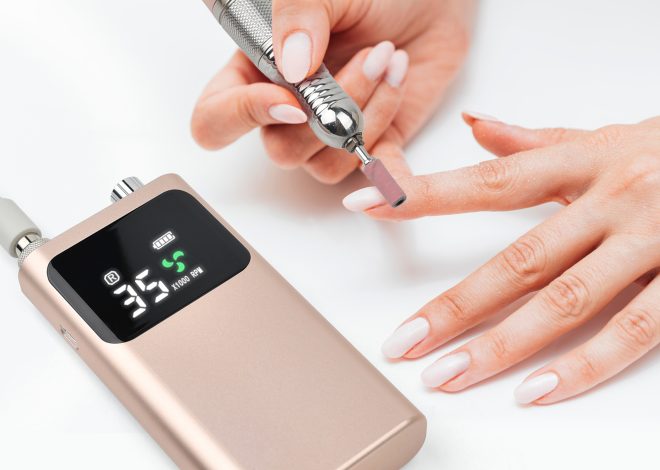
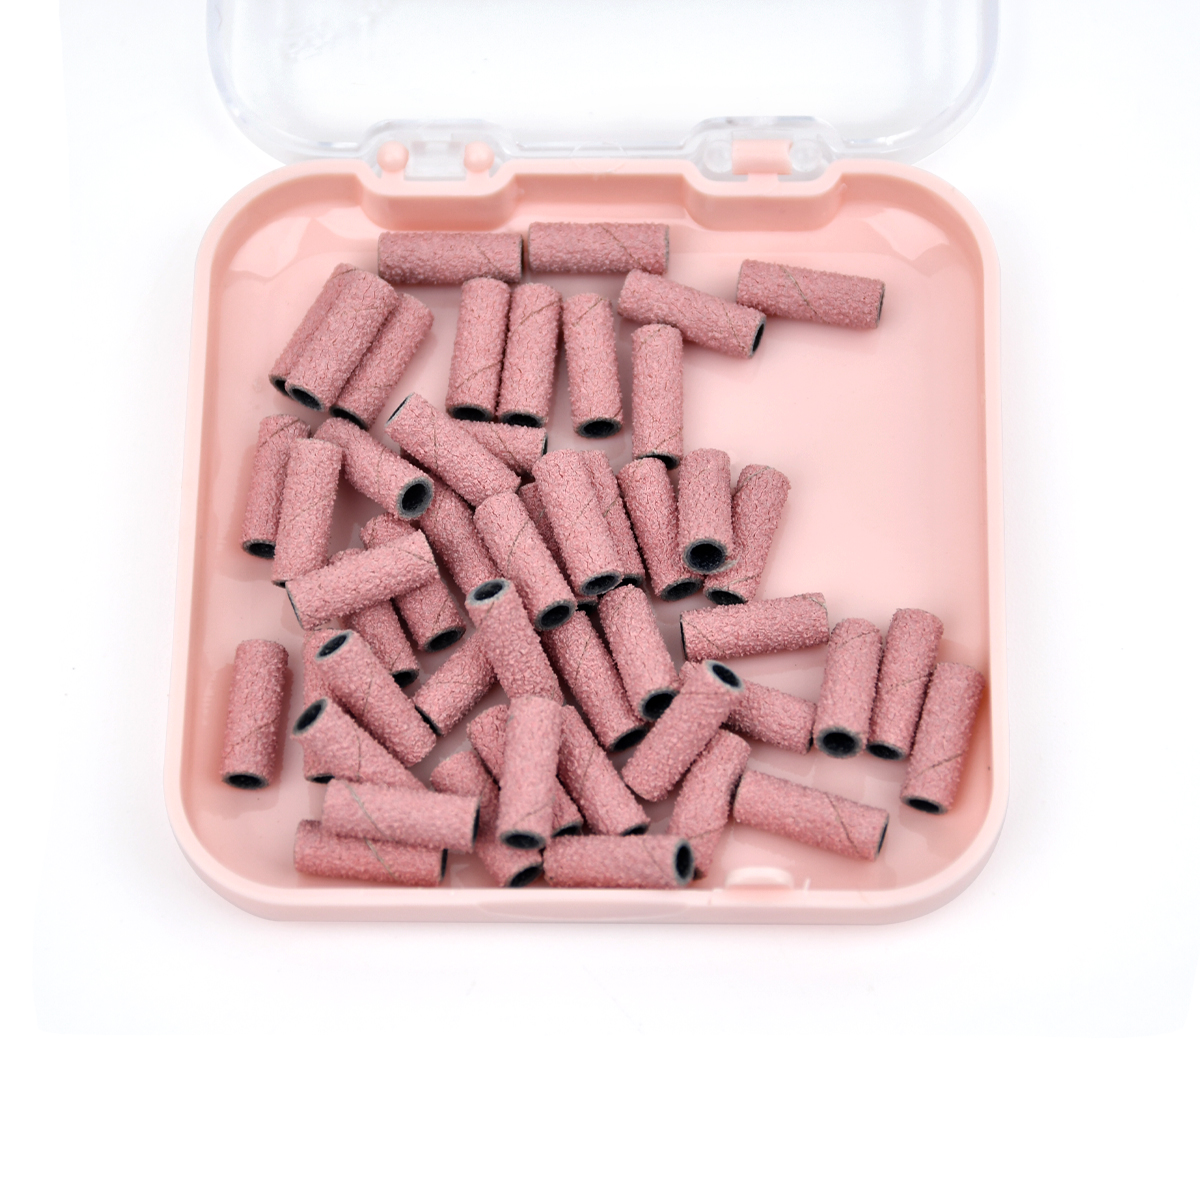
5. Sanding Bands: These are the disposable, flexible sleeves that fit over a mandrel (holder). They are inexpensive and perfect for single-use or home kits. Ideal for buffing the natural nail, removing light surface shine, or doing a quick removal of soft gel polish. They lack the precision and durability of other bits but are great for specific, gentle tasks.
How to Choose the Right Nail Drill Bit?
Selecting the correct bit is a three-step process:
1. Identify the Task: Always match the bit to the job.
- Natural Nail Prep & Cuticle Work: Use a fine-grit diamond bit (e.g., 180-240 grit).
- Bulk Removal of Hard Material: Choose a tungsten carbide or polygon bit.
- Refining Shape & Smoothing: Opt for a medium-grit ceramic or diamond bit.
- Final Buffing & Shine Reduction: A fine sanding band or buffing ceramic bit works best.
2. Consider the Grit: Grit refers to the coarseness of the abrasive surface. Lower numbers (80-100) are coarse for aggressive removal. Medium grits (120-180) are for shaping and refining. High numbers (200+ and up to 400) are fine for finishing, buffing, and natural nail work. Start with a higher grit than you think you need; you can always go coarser.
3. Prioritize Quality & Hygiene: Invest in high-quality bits from reputable brands. They are balanced, run smoother, and last longer. For professionals, autoclavable (heat-sterilizable) metal bits are essential for sanitation. For home use, ensure you clean bits between uses and never share them.
Mastering your nail drill starts with mastering your bits. By understanding this essential toolkit, you transform from someone who simply files nails into an artist who works with precision, care, and confidence. The right bit protects the natural nail, elevates your work, and ensures a result that is not only beautiful but also built on a foundation of nail health. Choose wisely, and let your craftsmanship shine.
Read also: Foot Calluses: What to Do?